If you are new to bike electrics this could seem like a daunting task but in reality there are only a few components in the charging system and one of them can't possibly go wrong.
The whole system consists of (from engine up) a set of rotating magnets, a stator (a set of static coils), 3 wires, a connector, reg/rec, another connector, 2 wires, main fuse and battery.
Fault finding is relatively easy too, I was going to type it out but there is already a fault finding flow chart that can be seen here or if that link is broken it can be downloaded from here free.
The stator readings for the 900 should be 1.8 - 2.8 ohms
Right now to the job itself.
I guess you should disconnect the battery for safety reasons but I didn't and couldn't see how this would be a problem (sparx correct me if I'm wrong on H&S grounds).
Always remember folks make a note of which bolts go where.
Start by taking the gear lever off by undoing the Allen bolt
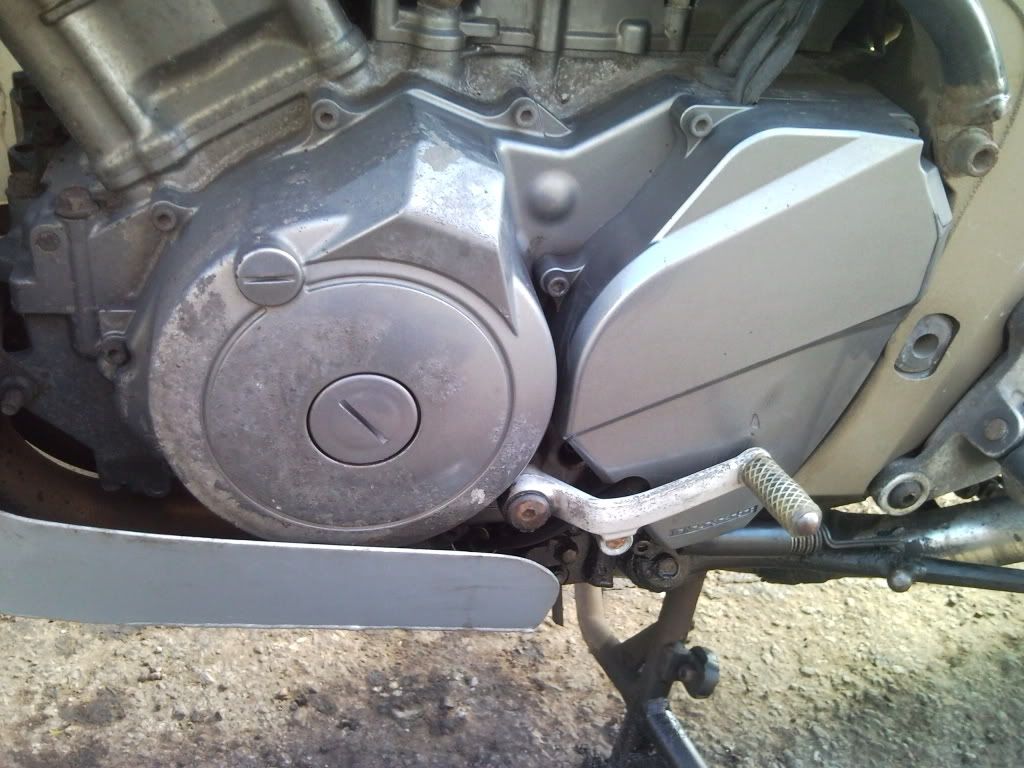
then remove the plastic cover.
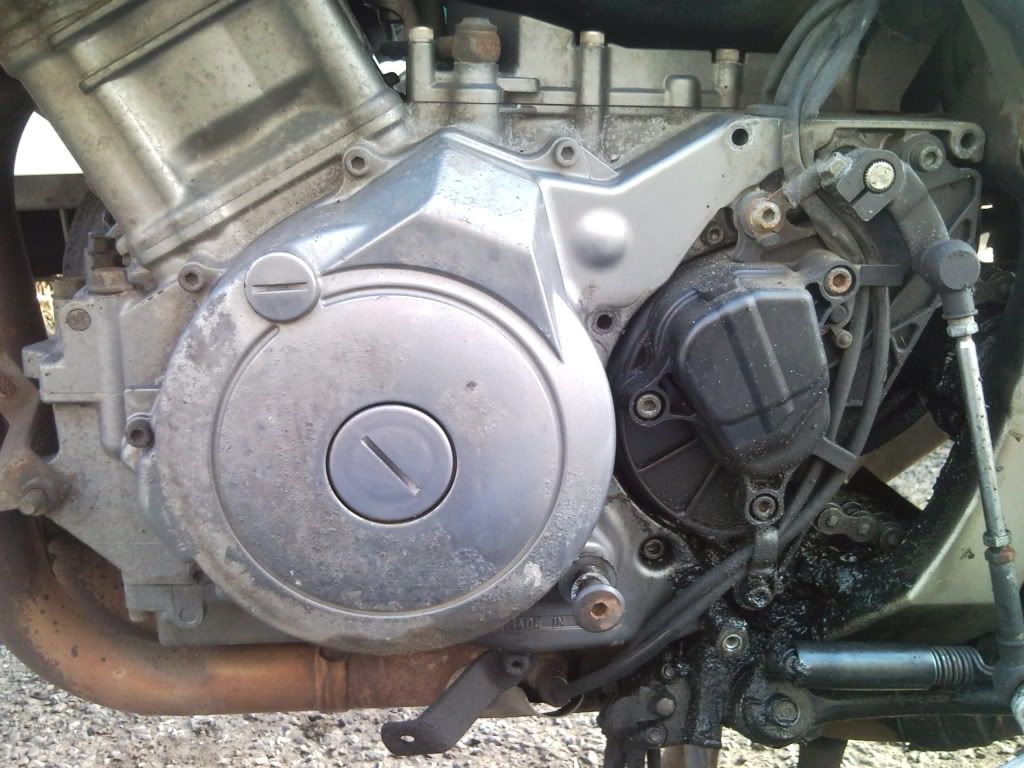
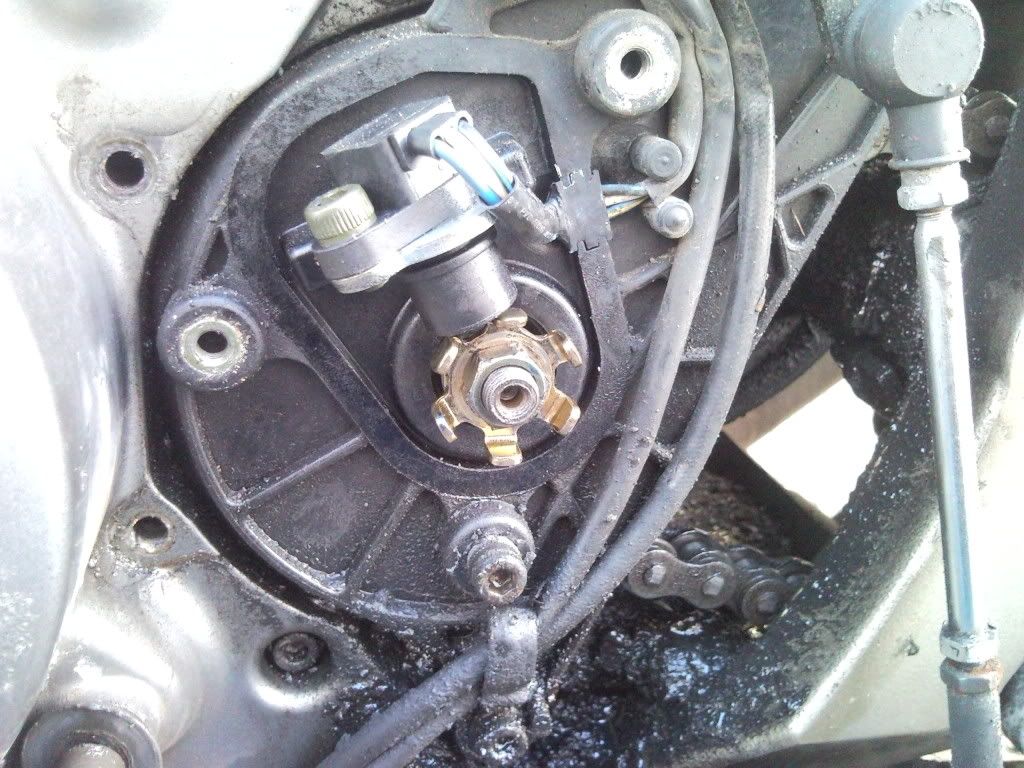
Speedo pick up cover to reveal the pick up sensor and rotor. And the gear lever linkage noting it's alignment on the shaft.
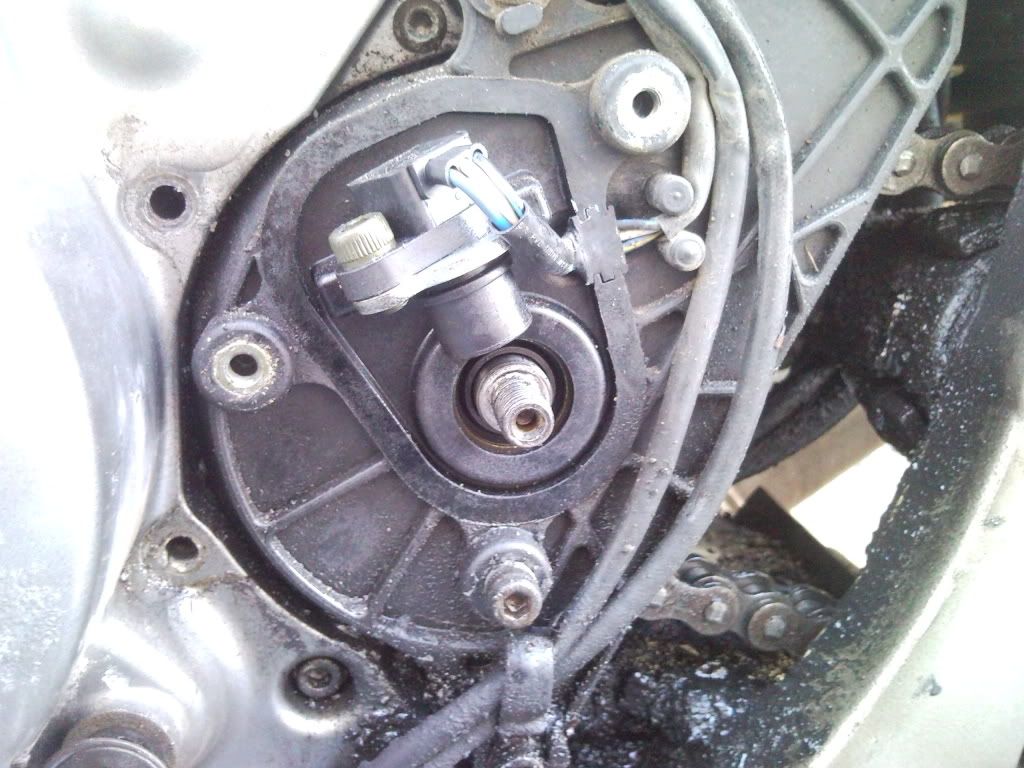
Remove the rotor (14mm nut), note the washer behind it.
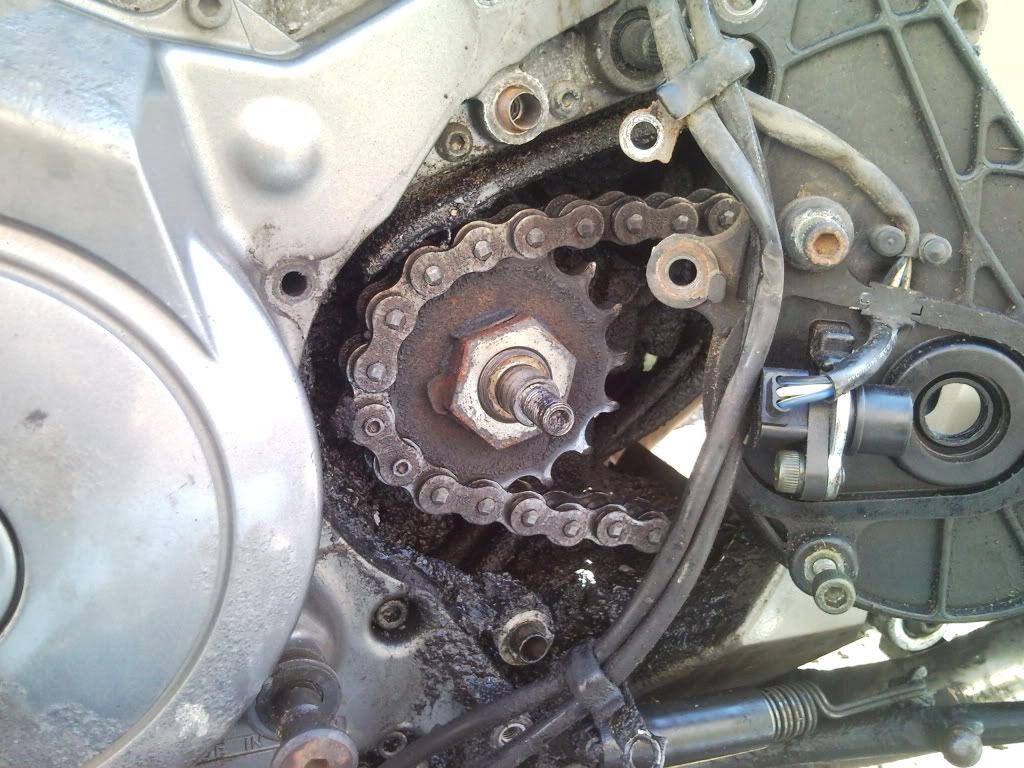
And the sprocket cover.
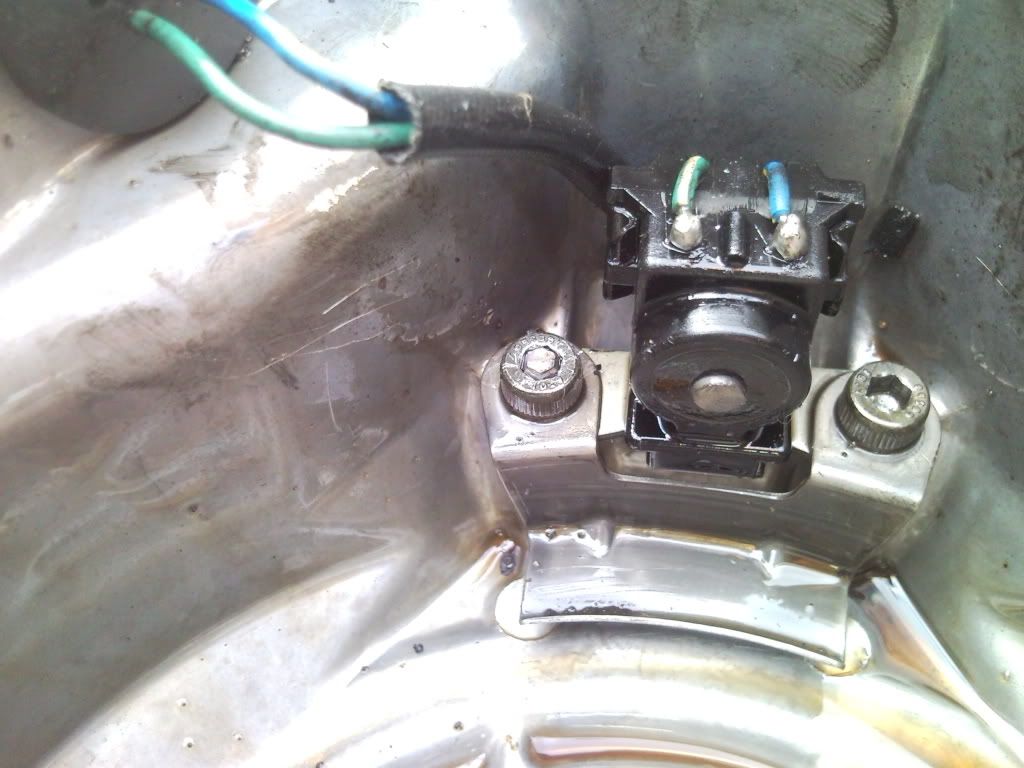
Now go to the reg/rec and unplug and feed the white connector block through the frame and also the sensor wires, the connector block for this can be found behind the nearside black tear drop fill panel (green and blue wires IIRC)
Now you can undo the bolts holding the casing on.
Have an oil pan and cloths under the bike now because you will loose some oil here.
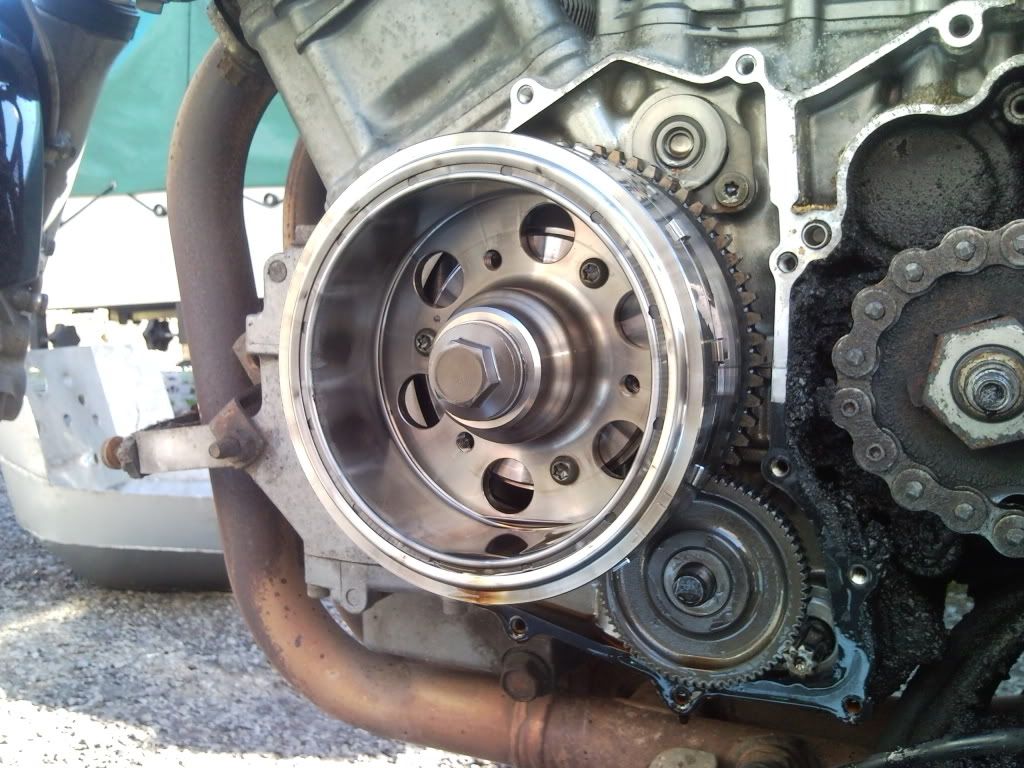
Once the bolts are out it's just a matter of sliding the casing off but be careful because the starter gears can come off too no big deal though they just slide back into place.
Expect to feel a little resistance here as the magnets try to hold the stator in place.
You should be left with the rotor (magnets) and starter gears on the bike.
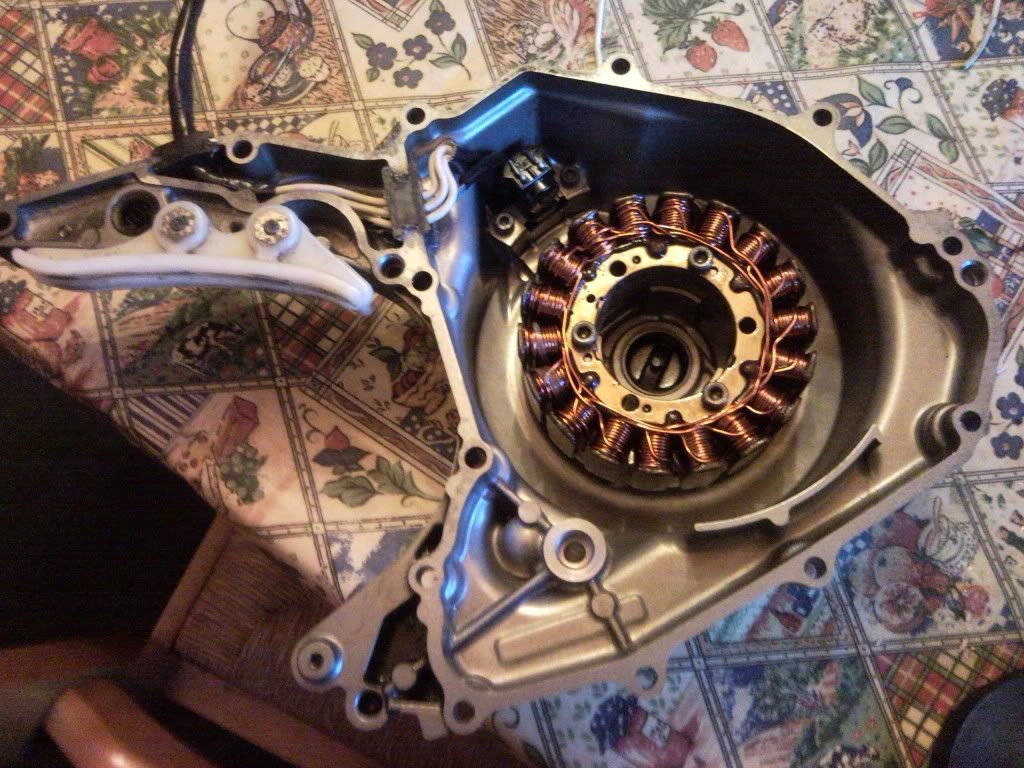
And the stator and pick up in the casing.
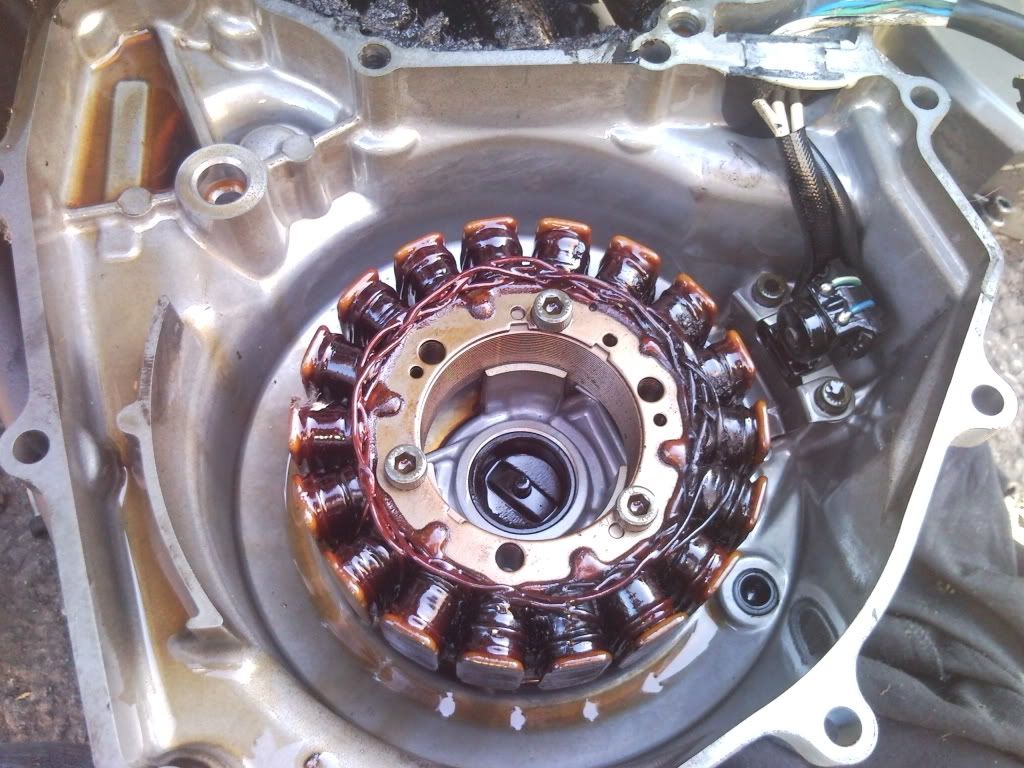
To remove the stator assembly undo the three bolts holing it in and the two bolts holding the sensor and retaining plate in place, lift out the assembly the two grommets and wires as one unit.
Be careful with these bolts as they are held in with some kind of thread lock and are really tight. I managed to snap off the ball end of an allen key in one of them which made my job a little harder than necessary.
The rest is common sense from here, clean the casing, remove traces of old gasket from mating faces and put the cover back on with a couple of bolts to keep the dust out of the engine.
Now it's up to you what you do but at the time of writing a new stator assembly was £600.
I sent mine off to be re-wound at a cost of £55 and a turn around of 3 working days.
I used Robin Williams
Robin Williams
29 Coleman Avenue
Teignmouth
Devon
TQ14 9DU
01626 772791
When you get it back, put the newly wound stator into the casing (don't forget to route the wires correctly) seal the grommets into place with instant gasket and leave in a warm place for 24 hours for the shellac to dry thoroughly (mine was still a bit tacky when I received it).
Replacing everything on the bike is just a reversal of removal.
Use a new gasket (£16ish) and when putting the casing on keep a firm grip on it as the magnets will try to pull it out of your hands and you don't want to chip that nice new shellac.
When it's all back together check the resistances between the three wires, if it's correct reconnect to the reg/rec and reconnect the pick up then check the oil level, start the bike and run through the check list to make sure everything is ok.
If you have made a good job of it reward yourself with some
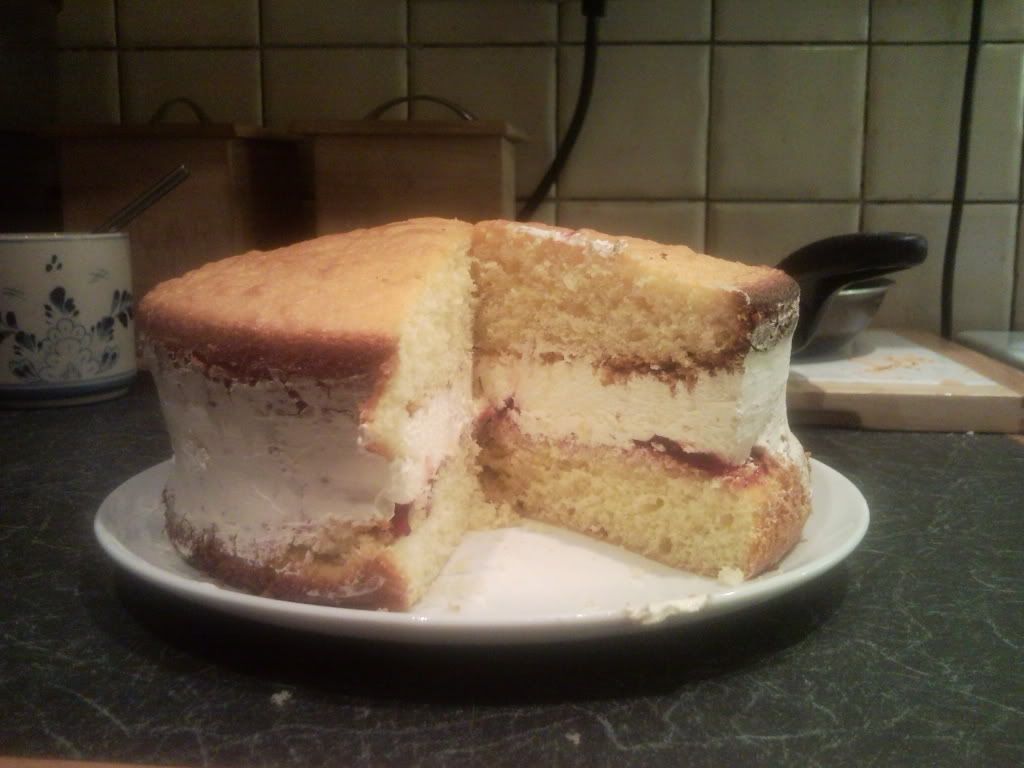
and coffee
There are also two posts relating to this
Here and here